

A trade show print kit should answer three questions: who you are from the aisle, what you offer at the table, and how someone follows up after leaving. Assign each piece a job before ordering more graphics. Plan from the organizer's booth dimensions and move-in deadline.
For the display hardware and event-facing signs, compare our stands and displays and event signage service before finalizing the kit.
Back wall, banner and table cover
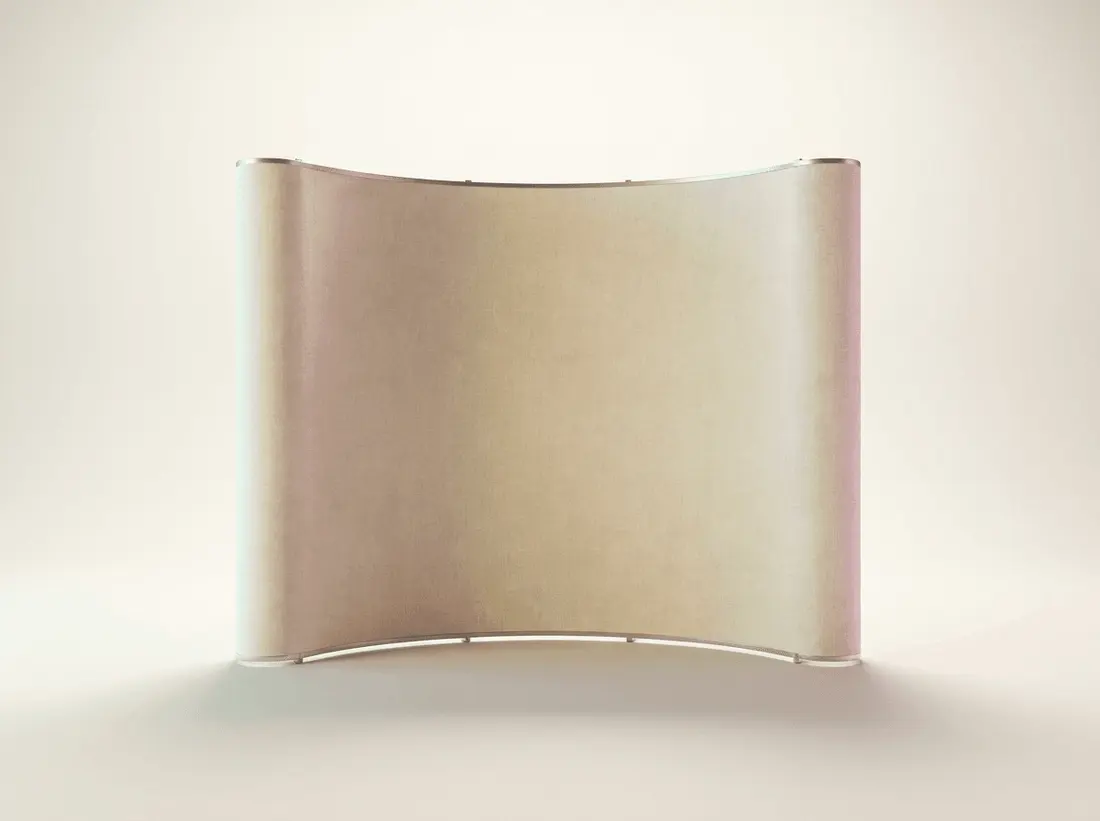
A retractable banner gives a compact vertical message. A tension fabric backdrop creates a larger background. Choose the finished size against the actual booth footprint, including space for visitors and staff—not only the advertised booth width.
A tension fabric display and an SEG display are different hardware systems. Tension graphics fit their matching frame; SEG graphics have a silicone edge that fits a compatible channel. Do not order a replacement graphic by width alone. Match the frame model, template and attachment method. Check whether the selected purchase is a complete kit or a graphic only.
For a printed table throw, confirm the table's width, depth and height. Decide whether access behind the table or hiding storage matters more when comparing available styles. A custom logo table cover should place the logo where it remains visible once the table is occupied, rather than on an area covered by samples.
A practical booth printing checklist
Use one large headline on the back wall or banner, a short product explanation at the table, and a portable takeaway. Confirm quantities separately: one booth can need a single display but hundreds of business cards or rack cards. Include badges and directional pieces only when they solve an actual event requirement.
For every item, record the product, finished size, quantity, hardware included, artwork file and destination. Separate the delivery deadline from the show's opening date. If graphics ship to a warehouse or exhibitor service desk, use the organizer's current receiving instructions and labels.
Artwork checks before production
Use the template for the exact display and keep critical text away from folds, frame edges and areas hidden by the table. Inspect at the intended viewing distance: small product details belong on a handout rather than at the bottom of a backdrop behind furniture. Use vector logos where available and suitable image resolution at final printed size.
Check the brand name, event offer, contact details and QR destinations across every piece. Scan a physical proof of each code. Save approved files with the matching product and size so a replacement does not accidentally use a different frame's template.
Pack and test the complete kit
Assemble the hardware and graphics before the event. Count poles, feet, fittings and carry bags, and photograph the assembled layout for whoever sets it up. Confirm cleaning and packing instructions for the chosen material instead of assuming every fabric graphic is machine washable.
Review the selected turnaround and transport time for each item. A paper handout, tablecloth and display system may have different schedules. Send your booth brief with dimensions, products, quantities and move-in date when coordinating the order.