

September 9, 2026
Translucent Adhesive Vinyl in Los Angeles: Printing for Light Coming Through, Not Bouncing Off
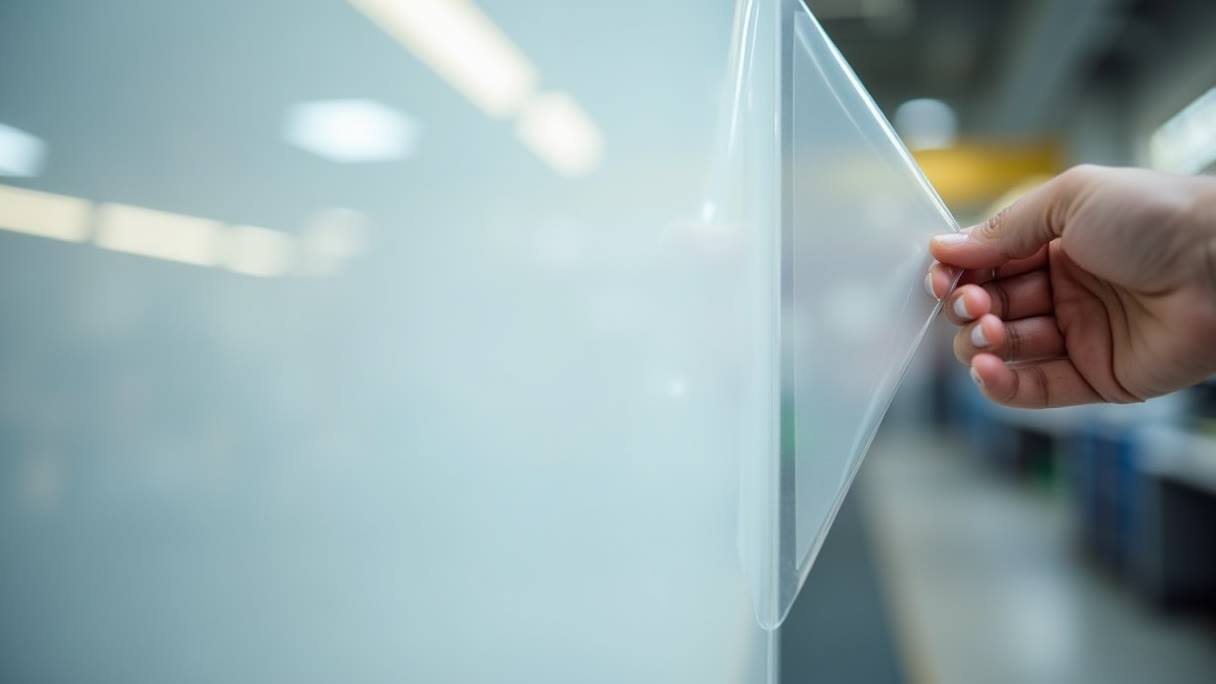
A backlit sign is two signs. There is the one people see at two in the afternoon on Lankershim, lit by the sun bouncing off the face, and there is the one they see at eight at night, lit from behind by the LEDs inside the cabinet. Those two signs can look completely different, and most of the disappointment we deal with around backlit graphics comes down to someone approving a proof for the first one and getting handed the second.
We print translucent adhesive vinyl at the shop in Sun Valley for lightbox faces, backlit menu boards, illuminated blade signs, window graphics with light behind them and trade show cabinets across the San Fernando Valley and greater LA. It starts at $186, and you set the size in the configurator, because on a film like this the price is driven by area and there is no meaningful "one piece" to quote. This is what we go through with people before we print.
Three films that look identical on the shelf
Adhesive vinyl comes in versions that are easy to confuse because they are all a thin printed film with glue on the back. They are not interchangeable.
Opaque vinyl blocks light. It is what most storefront lettering, most vehicle graphics and most floor and wall work is made of. Put it on a lightbox face and the box turns into a dark rectangle with a faint glow at the edges, because the ink and the white film base are both stopping the light rather than passing it.
Clear vinyl passes light straight through the unprinted areas. That is right for window graphics where you want to see through the glass, and wrong for a cabinet, because the light does not get scattered on its way out. You end up looking through the film at the LEDs themselves.
Translucent vinyl is built to transmit and diffuse. The film base scatters the light coming through it, so the face reads as an evenly glowing surface rather than a window onto a strip of diodes, and the inks are formulated to hold their color when light is pushed through them instead of reflected off them. That diffusion is the whole product. If somebody has quoted you "printed vinyl" for a lightbox without saying which of the three, ask.
Your colors will move at sunset
During the day you are looking at reflected light, so the graphic behaves like anything else we print. At night you are looking at transmitted light, and two things happen.
Dark colors get darker. Heavy black, deep navy, rich burgundy — these are areas where a lot of ink is stopping a lot of light, so at night they go close to solid black, and any fine detail inside them disappears. A logo built as thin white lines cut out of a black field will look sharp in daylight and turn into a black hole with a few faint scratches after dark.
Light colors get lighter and lose contrast. Pale yellows, light greys and soft tints wash out when the LEDs are behind them. A pale grey rule that separates two sections of a menu board in daylight can effectively vanish at night, and the layout falls apart.
The practical rule is to design for the night version first and check that the day version still works, not the other way round. Push your mid-tones a step darker than looks right on screen, keep your type in the range where it holds both states, and if a color is doing structural work in the layout — a divider, a background block, a brand red people recognize from across the street — tell us and we will look at it before it goes on a full-size panel.
Hotspots, striping and the cabinet you already own
Translucent film diffuses light, but it cannot fix a badly lit box. If your cabinet is shallow and the LED strips inside are widely spaced, the light has no room to spread before it hits the face, and you get visible bright bands over the strips and darker channels between them. On a plain white face nobody notices much. Under a printed graphic with large flat areas of a single color, the striping is obvious, and every customer who sees it thinks it is a printing fault.
So before you commit to artwork, turn the box on at night with the blank face in it and look at it from the distance people will actually stand at. If it stripes empty, it will stripe printed. Deeper cabinets, tighter LED spacing or an additional diffuser panel behind the face are the fixes, and all three are cheaper decisions to make before the graphic exists than after.
The same logic applies to old fluorescent boxes that have been converted to LED. The retrofit kits are usually a couple of strips where there used to be tubes running the full width, which is a bigger change in how the light is distributed than most people expect.
First surface or second surface
There are two places the film can go on an acrylic or polycarbonate face, and it matters.
On the outside is the straightforward option. We print the graphic reading normally, it goes on the front of the panel, and the panel goes in the cabinet. It is the easier application and the easier one to replace when you rebrand.
On the inside puts the acrylic between your graphic and the weather, which in a Valley summer means between your graphic and months of direct afternoon sun. The film is protected from UV, rain, dust and anybody with a key and a bad idea. The catch is that you are now reading the graphic through the panel, so the artwork has to be mirrored before we print, and the application has to be clean because a trapped bubble on the second surface is sealed in there permanently.
Tell us which one you are doing when you send the file. Reversed artwork on a first-surface job and normal artwork on a second-surface job are both an expensive way to learn the difference.
Panels wider than a roll
Wide-format film comes off a roll, so a cabinet face wider than that roll needs more than one piece. That is normal — large backlit faces are routinely done in panels with a small overlap — but where the seam lands is a design decision, not a production accident. A seam through the middle of a word or across a face in a photograph will get noticed; the same seam falling in a flat background area between elements will not.
If your face is large, ask us about the working width before you finish the layout, and we will tell you where the seams want to fall so you can design around them.
When you do not actually need a lightbox
A fair number of people who come in asking about backlit vinyl want visibility, and a lightbox is just the version of visibility they have seen most often. It is worth checking whether the cabinet is really the job, because the alternatives cost less and involve no electrician.
For sidewalk traffic during business hours, an A-frame sidewalk sign starts at $94.99 and does something a lightbox structurally cannot: it moves. It goes out when you open, it changes message when the special changes, and it sits in the pedestrian's path instead of above their eyeline. If your customers are on foot on a commercial street, this beats an illuminated sign at ten times the price for daytime business.
For interior identification — reception walls, suite numbers, department names, the panel behind the counter — acrylic business signs start at $46.76 and read as substantial in a way that a printed panel does not, because of the thickness of the material and the shadow it throws off the wall. Under normal office lighting you get depth without any light source at all.
And for large flat graphics with real color in them — the photograph behind the bar, the wall piece in a showroom, the menu board that lives indoors — acrylic printing starts at $90 and gives you gloss and saturation that no film on a lit box will match, because you are back to reflected light where the inks are at their strongest.
A useful test: if the sign needs to sell to someone driving past at nine at night, you want the lightbox. If it needs to work while your door is unlocked, you probably do not. Either way, it is part of the same signage and front signs work, and if the face is going outdoors on a building or a pylon, that overlaps with what we do in outdoor advertising and signs.
Files and what to send us
Send vector artwork with the fonts outlined, built at final size — a quarter of the finished dimensions at four times the scale is fine, but tell us the ratio. Include bleed all round and keep critical elements well inside the visible area, because a cabinet face is held in a retainer frame that covers the outer edge of the panel, and anything sitting in that band is simply not going to be seen. Measure the visible opening, not the panel.
Build in CMYK and accept that a saturated color on a backlit face will not match a coated-paper swatch of the same brand color; the substrate, the diffusion and the light source are all different. Raster elements should be 300 ppi at the size they print if you are viewing from arm's length, and can be considerably lower for a face read from across a parking lot — a photo that would be unusable on a business card is fine at fifteen feet.
Angels Print prints translucent adhesive vinyl, acrylic signs and sidewalk signage at 8511 Lankershim Blvd in Sun Valley, for businesses across the San Fernando Valley and greater Los Angeles. If your artwork is ready and you know your visible opening, set the size and order online. If you are not sure whether your cabinet will stripe, whether your logo survives being lit from behind, or whether you want the film on the inside or the outside of the panel, call us at (818) 806-9006 or bring the file and the measurements into the shop and we will work through it with you before anything gets printed.