

September 12, 2026
UV Printing in Burbank: Picking the Right Surface Before You Pick the Design
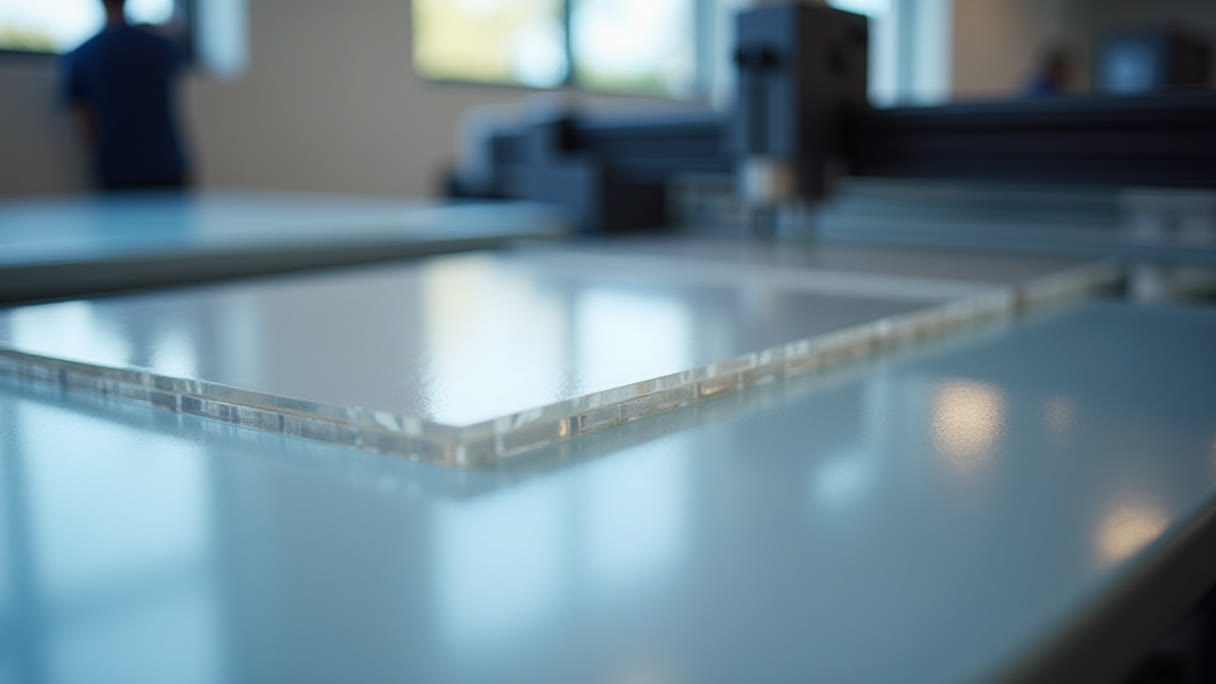
Ask three people in Burbank what UV printing is and you will get three answers. One means a photo printed directly onto a sheet of acrylic for a lobby. One means a weatherproof panel bolted to a fence at a job site off Victory. One means the raised, glossy logo they felt on somebody's business card at a mixer and have wanted ever since. All three are UV printing, they all come off the same idea, and they are not interchangeable jobs.
We run UV printing at the shop on Lankershim in Sun Valley, a few minutes up Hollywood Way from the Media District, and most of the work we take in from Burbank is production companies, post houses, retail on Magnolia, restaurants on San Fernando, and offices that need something on a wall by a specific date. This is the conversation we have with people before the file goes to the press.
What "UV" actually changes
Conventional ink dries by soaking into paper or by evaporating. UV ink does neither — it is a liquid that hardens in place the instant a lamp passes over it. That one difference is the whole reason the process exists, because ink that does not need to soak into anything can be printed on things that absorb nothing: acrylic, aluminium composite, PVC, foam board, wood, glass.
The practical consequence is that there is no mounting step. The old way to get a graphic onto a rigid panel was to print it on paper or vinyl and glue that to a board. Everything that goes wrong with a mounted print — bubbles, a lifting corner, the laminate letting go after a summer in a parked car — goes wrong at the glue line. Direct UV printing has no glue line. The image is a thin cured film sitting on the panel itself, and you can feel it with a fingernail.
White ink is the part people forget
Process inks are transparent. They are designed that way so cyan over yellow makes green. On white paper that is invisible physics; on clear acrylic or a dark or metallic substrate it is the entire problem, because transparent ink over a dark surface reads as nothing.
So a UV job on anything that is not white needs a white ink layer, and there are three normal ways to use it. No white at all gives you a stained-glass effect on clear acrylic — colors you can see light through, which is beautiful for a window piece and useless for a logo that has to stay legible against whatever is behind it. White behind the artwork only keeps the rest of the panel clear or bare metal and makes the graphic itself fully opaque. A full white flood turns the whole panel into a white sheet and then prints on top of it, which is what you want when the substrate is dark and the design is a photograph.
There is also a double-sided trick worth knowing: print one image, a white block, then a second image on the reverse. The white in the middle stops the two sides showing through each other. Decide which of these you want before you build the file, because each one needs a different set of layers.
Acrylic, and why we usually print the back
For a wall piece in a lobby or a conference room, acrylic printing starts at $90, and the thing that makes it look expensive is that we print it second surface — on the back of the sheet, so you look at the image through the acrylic rather than at it.
Two things follow from that. The gloss is the polished face of the panel itself, not a coating, so it is deeper and more even than anything we could print. And the ink is physically behind a few millimetres of plastic, where a fingernail, a cleaning cloth or a sleeve cannot reach it. It also means the file gets built backwards: the artwork is mirrored, and the white underbase is laid down last because it ends up furthest from the viewer. We handle the mirroring, but if your file contains type, it is worth a second look at the proof.
One warning about acrylic in an office: no ammonia, no window cleaner, no solvent. Acrylic crazes — it develops a haze of fine cracks — and once it does, nothing brings it back. Mild soap and water on a soft cloth, and tell whoever cleans the space.
Dibond when the panel has to go outside
Aluminium composite — two thin aluminium skins bonded to a plastic core — is the material we reach for when a printed panel has to live outdoors and stay flat. Dibond aluminum starts at $37.42 and does not absorb water, does not swell, and does not oil-can the way a single sheet of thin metal does at large sizes.
It is the right call for building signage, parking and wayfinding panels, permit and site boards, and anything mounted where wind will push on it. The aluminium face also takes UV ink well and can be drilled, so mounting is a hardware question rather than an adhesive question.
Foam board is an indoor material, full stop
Foam board starts at $28.30 and it is excellent at exactly one set of jobs: light, large, temporary and inside. Screening and premiere signage, easel boards at an event, a presentation mounted for a pitch, directional panels for a two-day shoot.
What it is not is a sign. Humidity makes the paper faces and the foam core move at different rates, so a board left in a garage or against an exterior wall will bow, and a corner knock leaves a permanent dent because the core crushes and does not come back. If somebody asks us for foam board that will hang outside a storefront through the summer, we talk them into Dibond instead — the price difference is smaller than the reprint.
The other UV: raised spot on cards
When a designer says spot UV, they mean a clear varnish printed only where they want it, in register with the artwork, and cured to a hard gloss. Raised spot UV builds that varnish up until you can feel it. Raised spot UV business cards start at $64.67 for the default run of 50 — about $1.29 a card.
Two rules make the difference between a card people turn over and a card that looks busy. First, contrast: the effect only exists because the gloss sits against something matte, so it works hardest on a dark or uncoated-looking stock and nearly disappears on a card that is already glossy all over. Second, restraint. Varnish the logo, one rule, or a single line of type. Varnish everything and you have just made a shiny card.
Build the spot layer as a separate layer in the file, filled 100% black, at exactly the same size and position as the artwork it belongs to. Black in that layer means "put varnish here" — it is a mask, not a color, and fine hairlines and small serif type are where it tends to lose registration.
Honest limits
Cured UV ink is hard, but it is a surface film on anything printed first surface. A key dragged across a Dibond panel will mark it. Second-surface acrylic is immune to that by construction, which is part of why we prefer it indoors.
Sunlight is the other limit, and we will not put a month count on a panel in a specific spot — a north-facing wall off Olive and a west-facing lot on Empire are not the same exposure. What is predictable is the order things go: reds and magentas shift first, yellows next, blacks and deep blues last. If a graphic has to hold its color for years rather than a season, build it out of the colors that hold.
Files
Vector where you can, with fonts outlined, built at final size, with bleed all round. CMYK, not RGB — screen colors that live outside CMYK, the electric blues and hot greens especially, will come back calmer than your monitor showed, and it is better to see that in the file than on the panel.
For large panels, a photo at 150 ppi at full size is plenty, because nobody reads a lobby graphic from eighteen inches away. For cards, stay at 300. Put any white ink or spot varnish on its own clearly named layer, and if the piece is a shape rather than a rectangle, put the cut path on a separate layer too.
Working with us from Burbank
The one thing we do recommend, for anyone close enough for it to be easy: come look at the material before you commit. Gloss, the depth of a second-surface print and the exact feel of raised varnish are things a screen cannot show you, and a five-minute look at a sample settles arguments that email threads do not. We keep a Burbank page with what we print most often for this side of the hill.
Angels Print prints acrylic, Dibond, foam board and raised spot UV work at 8511 Lankershim Blvd in Sun Valley, for businesses across Burbank and the San Fernando Valley. If your artwork is ready, pick the material and size and order online. If you are still deciding whether a panel belongs on acrylic or aluminium, whether your file needs a white layer, or how much of a card should actually be varnished, call us at (818) 806-9006 or bring the file into the shop and we will work through it with you first.