

August 31, 2026
Pole Banners in Los Angeles: Brackets, Permission, Wind and What Actually Survives a Season
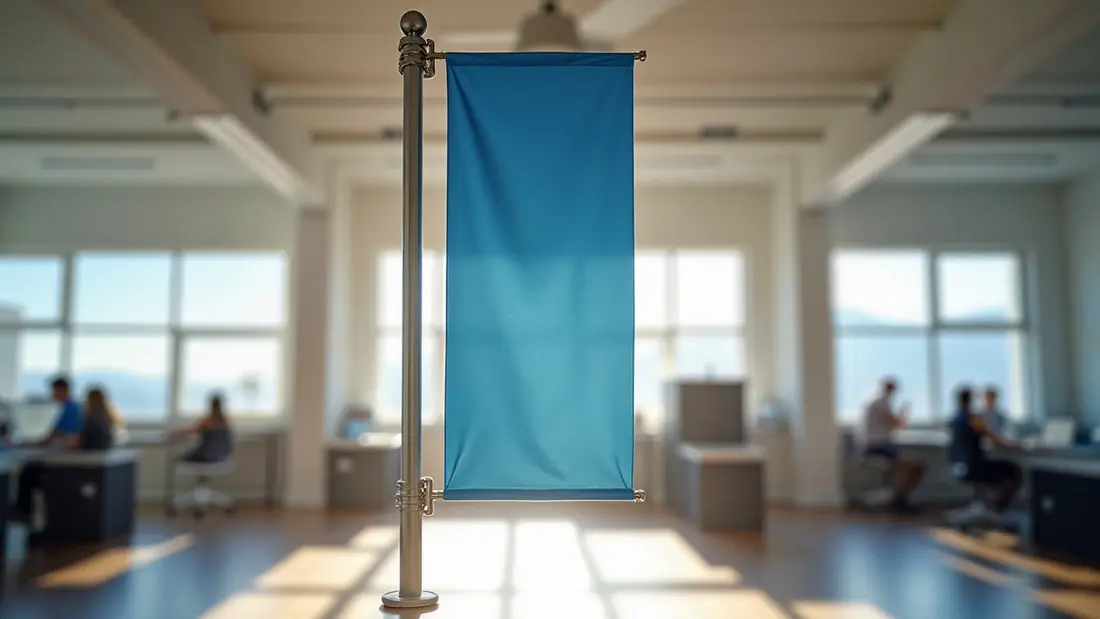
A pole banner is one of the few printed pieces that has to survive weather, gravity and a city inspection all at once. It goes up somewhere between twelve and twenty feet above a sidewalk, it stays there for a season or a year, and nobody is going to climb up and straighten it for you. That changes the order of the decisions. On a business card the artwork comes first. On a pole banner the hardware comes first, the permission comes second, the size comes third, and the artwork is the last thing anybody should open. We print these at the shop on Lankershim for BIDs, churches, dealerships, colleges, shopping centers and event organizers around the Valley, and almost every disappointing job traces back to a file that was designed before anyone looked at the bracket.
Our pole banners start at $60. That is a real print price for a real outdoor piece, and it is worth noticing what it is not: it is not the hardware, and it is not the install. Budget those separately from the start, because on a twenty-banner run the brackets and the lift can cost more than the printing.
Start with the pole you do not own
The single biggest fork in this project is whose pole it is.
If the pole is on private property — your parking lot, your campus, your dealership frontage, a shopping center you manage — you are dealing with a property owner and a structural question, and that is a conversation you can finish this week. If the pole is a city street light on a public street, you are in a different world. Banners on public light poles in Los Angeles are governed by a city program, sponsors have to be approved, the hardware is specified for you, and the sizes are set by whoever administers the poles on that corridor. We are not going to quote you the rules here, because they differ by jurisdiction and they change: Los Angeles is not Burbank, Burbank is not Glendale, and an unincorporated pocket of the county is a third answer again.
What we will tell you is the sequence. Get the approval and the size specification in writing before you print anything. A rejected banner is not a print problem we can fix — it is thirty pieces of vinyl in a box that are the wrong dimensions forever. People do this backwards constantly: they design the campaign, print it, and then find out the corridor uses a 30 by 94 layout and their beautiful 24 by 48 file is unusable.
Hem and grommet, or pole pocket
There are two finishing systems and they are not interchangeable.
Hem and grommets means the edges are folded and welded for strength, with metal eyelets punched through. You attach with zip ties or bungees. It is cheaper, it is faster, and it is fine for a fence line, a construction barrier or a temporary run. On a light pole it flaps, and the flapping is what eventually tears the corners out.
Pole pockets — sewn sleeves running across the top and bottom edge — are what a real pole banner bracket wants. A fiberglass or aluminum rod slides through each sleeve, the rod seats into the arms of the bracket, and the banner is held under tension top and bottom. Tensioned fabric does not flap, and a banner that does not flap lasts several times longer than one that does. The pocket size is dictated by the rod diameter your bracket uses, usually somewhere between three and four inches finished, and you have to tell us that number before we cut. The pocket also eats into your artwork: whatever goes into the sleeve is invisible, so the live area of a 30 by 94 banner is nowhere near 30 by 94.
Ask your bracket supplier for the rod diameter and the finished banner size they expect. Send us both. If you send us a bracket model number and nothing else, we will ask you for those two numbers anyway.
Material, and the two-sided problem
Standard outdoor banner vinyl is a scrim — a woven mesh sandwiched between vinyl layers — and for a single-sided pole banner it is the default and it is enough. The decision gets interesting when the banner is double-sided, which most pole banners are, because a street pole is seen from both directions of travel.
Print both sides on ordinary vinyl and you get show-through: the reverse image ghosts through the material, especially when the sun is behind it, and light type over a dark field on the back turns your front into mud. The fix is a blockout material with an opaque black core, or two banners sewn back to back. Blockout is heavier, which matters for the bracket load, and it costs more. It is still the right call for anything double-sided that will be backlit by afternoon sun, which in the Valley is every west-facing pole between April and October.
Wind slits are the other thing people ask for. Half-moon cuts in the field of the banner are a familiar sight, and on a large flat wall banner they do relieve some pressure. On a tensioned pole banner they mostly just put holes in your artwork — the bracket's spring arms are the pressure relief system, and a properly tensioned banner in the right hardware does not need them. If you want slits anyway, tell us at file stage so we can keep type out of the cut zones instead of slicing through a word.
Design for eighteen feet and forty miles an hour
The viewing geometry is brutal and it is nothing like a poster. Your reader is either in a car doing 35 on Victory Boulevard or on the sidewalk directly underneath, looking up at a steep angle. Neither of them is going to read a sentence.
So: three elements, maximum. A mark, a few words, a date or a URL. Set the type enormous — think in terms of how many inches tall the letterforms are, not what point size looks right on your monitor. Keep contrast blunt, because in flat noon light and again in orange evening light, mid-tones collapse. Put the most important element in the vertical middle of the live area, not near the top, because the top is often what the bracket arm and the pocket eat.
On file prep, build at final size or at a clean fraction of it, add the bleed we specify, and keep all critical content well inside the pocket allowance. Photographic content at 100 to 150 dpi at final size is plenty at this viewing distance — a 300 dpi file at 30 by 94 inches is a gigabyte of nothing. Vector logos with fonts outlined, always.
Sun Valley sun, and the honest lifespan
Nobody should promise you a fade date, and we are not going to. What we will say is that direct Valley sun on a south or west exposure is the harshest condition this material sees anywhere in the campaign, and that saturated reds and deep blues shift first. If a run has to look identical across a corridor for a full year, print the whole quantity at once from one file. Banners printed six months apart will not match, and hanging them alternately along the same street is the most visible way to advertise that fact.
Plan the rotation into the budget instead of pretending it will not happen. Seasonal campaigns that swap every quarter are cheaper to keep looking sharp than one heroic set that spends its second year looking tired above your front door.
What else the same campaign usually needs
Pole banners work at a distance. They do not close anything. The corridor treatment we see actually working pairs them with something at eye level at the door, and that is a different product entirely.
An A-frame sidewalk sign starts at $94.99 and is the piece that catches the person the banner already turned into a pedestrian — today's hours, today's special, an arrow to a hard-to-find entrance. It goes out in the morning and comes in at night, which is also its legal advantage on a public sidewalk.
Inside the door and on the glass, the permanent tier takes over. Acrylic business signs start at $46.76 for the suite numbers, lobby marks and directory plates that a banner campaign eventually makes people look for, and acrylic printing starts at $90 when you want the image itself printed on the panel rather than mounted behind it.
If you are planning the whole corridor rather than one product, our outdoor advertising and signage pages lay out how the pieces stack — what belongs above the street, what belongs on the sidewalk, and what belongs on the building.
Angels Print prints pole banners, A-frames and acrylic signage at our shop at 8511 Lankershim Blvd in Sun Valley, for districts, campuses, dealerships and event organizers across the San Fernando Valley and greater Los Angeles. If you already have your bracket specs and your approved size, pick your quantity and order online. If you are still working out whose poles those are, whether you need blockout for the second side, or how much of your artwork the pole pockets are going to swallow, call us at (818) 806-9006 or bring the bracket spec sheet into the shop and we will size the file around it before anything goes on the press.